
Introduction:
Indulge in a heavenly fusion of creamy peanut butter, rich Oreo cookies, and luscious cheesecake with this irresistible No-Bake Peanut Butter Oreo Cheesecake recipe. Perfect for those warm summer days when you crave a sweet treat without the need for turning on the oven, this dessert combines the classic flavors of peanut butter and chocolate in a delightful no-fuss dessert. Whether you’re hosting a backyard barbecue or simply satisfying your sweet tooth at home, this cheesecake is sure to impress. Let’s dive into how to create this decadent delight that will leave everyone craving for more.
Ingredients:
For the crust:
- 24 Oreo cookies
- 1/4 cup unsalted butter, melted
For the cheesecake filling:
- 16 oz cream cheese, softened (2 packages)
- 1 cup creamy peanut butter
- 1 cup powdered sugar
- 1 teaspoon vanilla extract
- 1 cup heavy cream, whipped (or use whipped topping)
For garnish (optional):
- Crushed Oreo cookies
- Mini Reese’s peanut butter cups
- Chocolate sauce
Instructions:

- Prepare the crust: Place the Oreo cookies in a food processor and pulse until they are finely crushed. Alternatively, you can place them in a zip-top bag and crush them with a rolling pin. Transfer the crushed cookies to a mixing bowl and stir in the melted butter until well combined.
- Press the Oreo mixture evenly into the bottom of a 9-inch springform pan or pie dish. Use the back of a spoon or a flat-bottomed glass to press the mixture firmly into the bottom of the pan. Place the crust in the refrigerator while you prepare the filling.
- In a large mixing bowl, beat the softened cream cheese and peanut butter with an electric mixer until smooth and creamy.
- Add the powdered sugar and vanilla extract to the cream cheese mixture, and beat until well combined.
- Gently fold in the whipped heavy cream until smooth and well combined. Be careful not to deflate the whipped cream.
- Pour the peanut butter cheesecake filling over the prepared Oreo crust, spreading it out evenly with a spatula.
- Cover the cheesecake with plastic wrap and refrigerate for at least 4 hours, or until set.
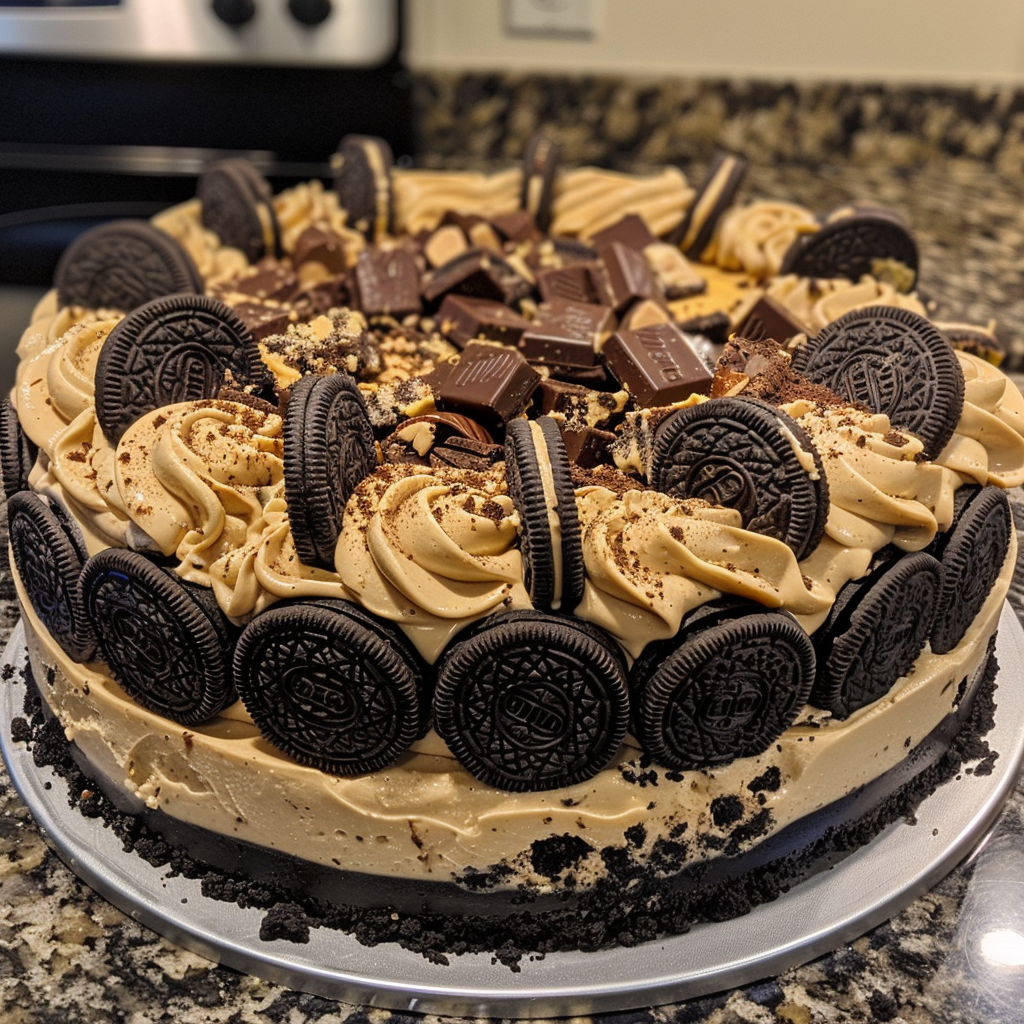
- Once the cheesecake is set, remove it from the refrigerator and garnish with crushed Oreo cookies, mini Reese’s peanut butter cups, and a drizzle of chocolate sauce, if desired.
- Slice and serve the no-bake peanut butter Oreo cheesecake chilled, and enjoy the creamy, peanut buttery goodness!
- This no-bake peanut butter Oreo cheesecake is perfect for any occasion and is sure to be a hit with peanut butter and chocolate lovers alike. Enjoy its rich and creamy texture and irresistible flavor!
Serving Tips:
- Serve the No-Bake Peanut Butter Oreo Cheesecake chilled for the best taste and texture. This creamy dessert is most delicious when served cold.
- For an extra touch of indulgence, drizzle each slice of cheesecake with warm peanut butter sauce or chocolate syrup just before serving.
- Garnish each slice with a dollop of whipped cream and a whole miniature Reese’s Peanut Butter Cup for a delightful presentation.
- Pair the cheesecake with a tall glass of cold milk, a cup of hot coffee, or a scoop of vanilla ice cream for the ultimate dessert experience.
- When serving at a gathering or party, consider offering a variety of toppings such as chopped nuts, caramel sauce, or fresh berries to allow guests to customize their slices.
Storage Tips:
- Store any leftover No-Bake Peanut Butter Oreo Cheesecake in the refrigerator, covered with plastic wrap or aluminum foil, to keep it fresh.
- Cheesecake can be stored in the refrigerator for up to 3-4 days. Ensure it is stored in an airtight container to prevent absorption of other odors.
- If you need to store the cheesecake for a longer period, you can freeze it. Wrap individual slices tightly in plastic wrap and then aluminum foil before placing them in a freezer-safe container. Frozen cheesecake can be stored for up to 1-2 months.
- To thaw frozen cheesecake, transfer it to the refrigerator and let it thaw overnight. Avoid thawing at room temperature, as this can cause the texture to become too soft and mushy.
- For best results, consume the cheesecake within a few days of making it. While it will still be safe to eat beyond that time frame, the texture and flavor may begin to deteriorate over time.
FAQs:
- Can I use crunchy peanut butter instead of creamy for this recipe? Absolutely! You can use crunchy peanut butter if you prefer some added texture in your cheesecake filling. Just keep in mind that the texture will be slightly different compared to using creamy peanut butter.
- Can I use store-bought Oreo cookie crumbs instead of crushing whole cookies? Yes, you can use store-bought Oreo cookie crumbs to save time. However, crushing whole Oreo cookies provides a fresher taste and texture to the crust. If using store-bought crumbs, ensure they are finely ground.
- Can I make this cheesecake recipe without using a springform pan? While a springform pan is ideal for easy removal of the cheesecake, you can still make this recipe using a regular pie dish or cake pan. Line the bottom of the dish with parchment paper for easier serving and slicing.
- Can I substitute whipped topping for the whipped cream in the filling? While whipped topping can be used as a substitute for whipped cream, it may result in a slightly different texture and taste. Whipped cream provides a richer flavor and smoother consistency compared to whipped topping.
- Is it necessary to refrigerate the cheesecake for a specific amount of time before serving? Yes, it’s essential to refrigerate the cheesecake for at least 4 hours, or preferably overnight, to allow it to set properly. This ensures that the filling has the right consistency and holds its shape when sliced.
Conclusion:
With its velvety peanut butter cheesecake filling and Oreo cookie crust, this No-Bake Peanut Butter Oreo Cheesecake is a true crowd-pleaser that will satisfy any sweet tooth. Whether served at a summer gathering, potluck, or family dessert night, this indulgent treat is sure to impress. Try out this easy-to-make recipe and treat yourself to a slice of creamy, chocolatey, peanut buttery bliss!