
Introduction:
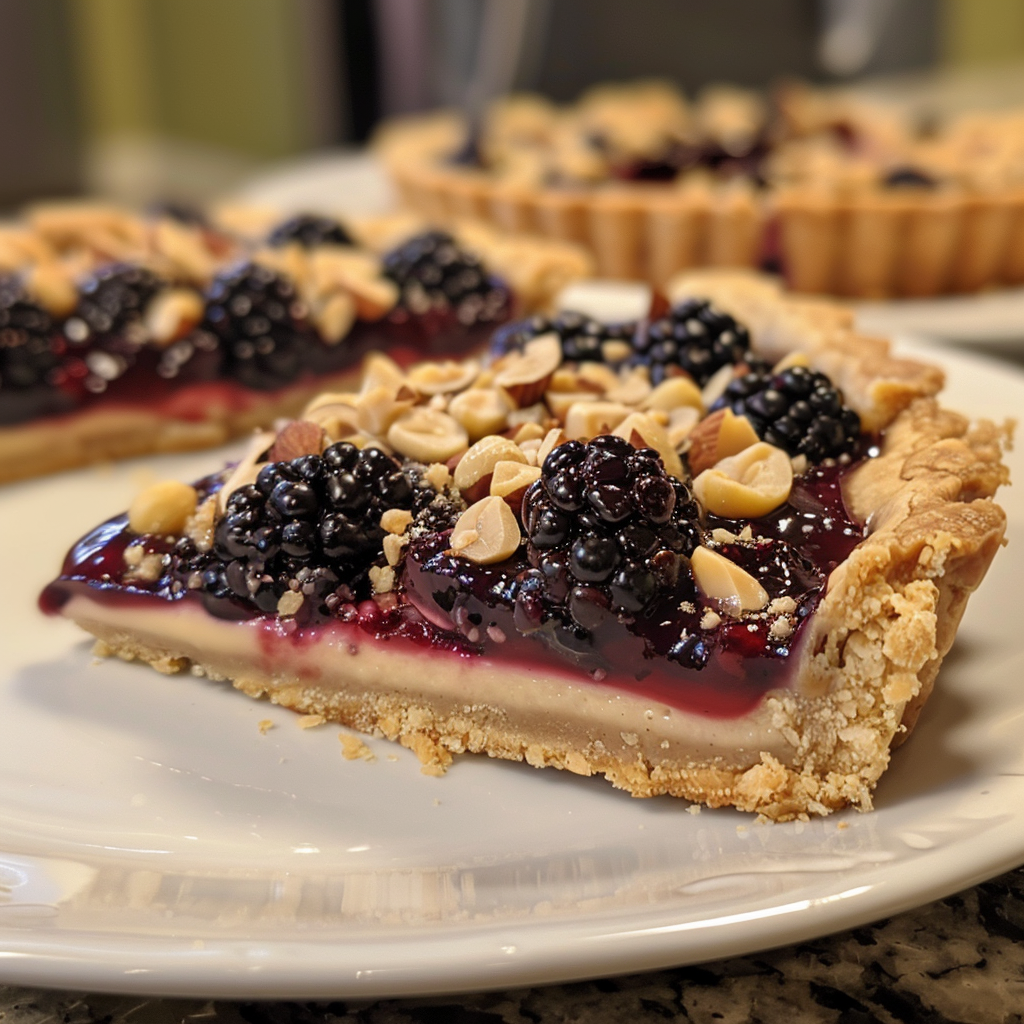
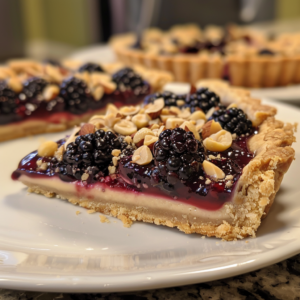
The marriage of succulent blackberries, aromatic vanilla, and the nutty richness of hazelnuts creates a symphony of flavors in the Blackberry Vanilla Hazelnut Tart. This dessert is not only a feast for the taste buds but also a work of art for the eyes. In this article, we’ll explore the exquisite blend of ingredients that make this tart a culinary masterpiece and guide you through the steps to create your own slice of indulgence.
Ingredients:
For the crust:
- 1 1/2 cups all-purpose flour
- 1/2 cup finely ground hazelnuts
- 1/4 cup granulated sugar
- 1/2 teaspoon salt
- 1/2 cup unsalted butter, cold and cubed
- 1 large egg yolk
- 2-3 tablespoons ice water
For the filling:
- 1 cup fresh blackberries
- 1/4 cup granulated sugar
- 1 tablespoon cornstarch
- 1 teaspoon vanilla extract
- Pinch of salt
For the topping:
- 1/4 cup finely chopped hazelnuts
- 1 tablespoon granulated sugar
Instructions:
- Preheat your oven to 375°F (190°C). Grease a 9-inch tart pan with a removable bottom and set aside.
- In a food processor, combine the all-purpose flour, ground hazelnuts, granulated sugar, and salt. Pulse a few times to mix.
- Add the cold, cubed butter to the flour mixture and pulse until the mixture resembles coarse crumbs.
- Add the egg yolk and pulse again until the dough starts to come together.
- Gradually add the ice water, 1 tablespoon at a time, pulsing until the dough forms a ball.
- Transfer the dough to a floured surface and roll it out into a circle large enough to fit into the tart pan. Press the dough into the bottom and up the sides of the pan. Trim any excess dough.
- In a bowl, toss the blackberries with granulated sugar, cornstarch, vanilla extract, and a pinch of salt until well coated.
- Arrange the blackberry mixture evenly over the crust.
- In a small bowl, combine the finely chopped hazelnuts with granulated sugar. Sprinkle the mixture evenly over the blackberries.
- Bake the tart in the preheated oven for 30-35 minutes, or until the crust is golden brown and the filling is bubbling.
- Remove the tart from the oven and let it cool in the pan for at least 15 minutes before removing it from the pan.
- Serve the blackberry vanilla hazelnut tart warm or at room temperature. Optionally, garnish with a dollop of whipped cream or a scoop of vanilla ice cream.
- Enjoy the delicious combination of flavors and textures in this blackberry vanilla hazelnut tart!
Serving Tips:
- Serve the Blackberry Vanilla Hazelnut Tart at room temperature or slightly chilled for the best flavor and texture.
- Accompany each slice with a dollop of whipped cream or a scoop of vanilla ice cream for added indulgence.
- Garnish the tart with a few fresh blackberries and a sprig of mint before serving to enhance its visual appeal.
- Pair the tart with a cup of hot coffee or tea for a delightful after-dinner treat or a special occasion dessert.
- For an extra special presentation, dust the serving plate with powdered sugar before placing the tart slice on top.
Storage Tips:
- Store any leftover Blackberry Vanilla Hazelnut Tart in the refrigerator, tightly covered with plastic wrap or aluminum foil, for up to 2-3 days.
- To maintain the freshness and crispness of the crust, store the tart in an airtight container lined with paper towels to absorb any excess moisture.
- If you prefer to freeze the tart for longer storage, wrap it securely in plastic wrap and aluminum foil or place it in a freezer-safe container. It can be frozen for up to 2-3 months.
- When ready to enjoy, thaw the frozen tart overnight in the refrigerator before bringing it to room temperature or reheating it gently in the oven at a low temperature to avoid drying out the crust.
- For the best taste and texture, consume the tart within a few days of baking or thawing to ensure optimal freshness and flavor.
FAQs:
Conclusion:
The Blackberry Vanilla Hazelnut Tart is a celebration of flavors and textures that is sure to impress even the most discerning palates. With its buttery crust, luscious custard, juicy blackberries, and crunchy hazelnuts, it’s a dessert that is as beautiful to behold as it is delicious to eat. Whether you’re entertaining guests or simply treating yourself, this tart is guaranteed to delight and leave a lasting impression. So, roll up your sleeves, gather your ingredients, and embark on a culinary journey to create your own masterpiece!