
Introduction:
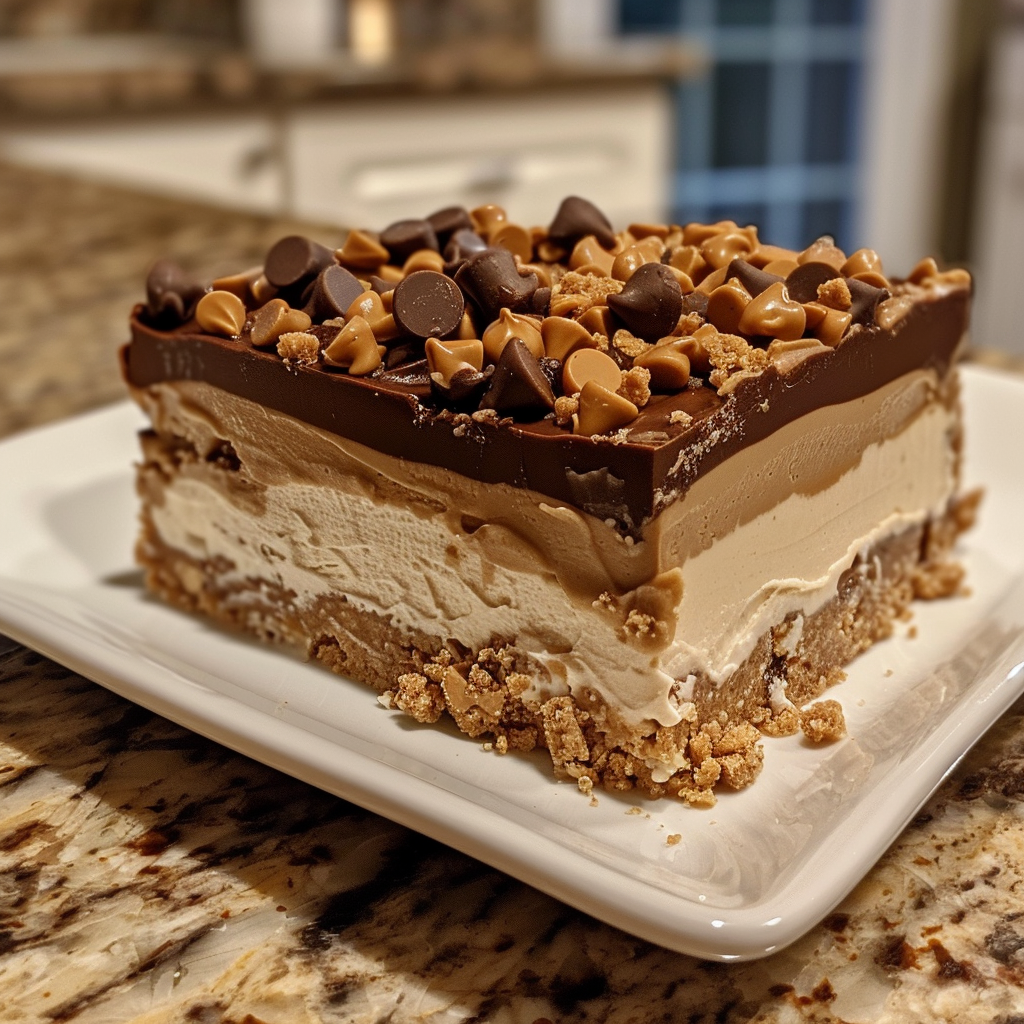
Satisfy your sweet tooth with a decadent dessert that requires no baking—No-Bake Buckeye Cheesecake Bars. These irresistible bars combine the rich and creamy flavors of traditional cheesecake with the indulgent taste of chocolate and peanut butter, all in one convenient and easy-to-make treat. Whether you’re craving a sweet snack or looking for a show-stopping dessert to impress guests, these cheesecake bars are sure to hit the spot. Let’s dive into how to whip up these delightful delights that will have everyone asking for seconds.
Ingredients:
For the crust:
- 2 cups crushed graham crackers (about 16 crackers)
- 1/4 cup granulated sugar
- 1/2 cup unsalted butter, melted
For the filling:
- 16 oz cream cheese, softened (2 packages)
- 1 cup creamy peanut butter
- 1 cup powdered sugar
- 1 teaspoon vanilla extract
- 1 cup heavy cream, whipped (or use whipped topping)
For the topping:
- 1 cup semi-sweet chocolate chips
- 1/4 cup creamy peanut butter
Instructions:

- Prepare the crust: In a mixing bowl, combine the crushed graham crackers, granulated sugar, and melted butter until well combined. Press the mixture firmly into the bottom of a 9×13-inch baking dish to form the crust. Place the crust in the refrigerator while you prepare the filling.
- In a large mixing bowl, beat the softened cream cheese and peanut butter with an electric mixer until smooth and creamy.
- Add the powdered sugar and vanilla extract to the cream cheese mixture, and beat until well combined.
- Gently fold in the whipped heavy cream until smooth and well combined. Be careful not to deflate the whipped cream.
- Pour the peanut butter cheesecake filling over the prepared crust, spreading it out evenly with a spatula.
- In a microwave-safe bowl, combine the semi-sweet chocolate chips and creamy peanut butter. Microwave in 30-second intervals, stirring between each interval, until the chocolate and peanut butter are melted and smooth.
- Pour the melted chocolate peanut butter mixture over the peanut butter cheesecake filling, spreading it out evenly with a spatula.
- Use a knife to create swirls in the chocolate topping, if desired.
- Cover the baking dish with plastic wrap and refrigerate for at least 4 hours, or until set.
- Once set, remove the Buckeye cheesecake bars from the refrigerator and cut into squares.
- Serve the no-bake Buckeye cheesecake bars chilled, and enjoy the creamy peanut butter filling and rich chocolate topping!
- These no-bake Buckeye cheesecake bars are perfect for any occasion and are sure to be a hit with chocolate and peanut butter lovers alike. Enjoy their creamy texture and irresistible flavor!
Serving Tips:
- For an elegant presentation, slice the No-Bake Buckeye Cheesecake Bars into uniform squares or rectangles using a sharp knife.
- Garnish each serving with a drizzle of melted chocolate or peanut butter and a sprinkle of chopped peanuts or mini Reese’s Peanut Butter Cups for added visual appeal.
- Serve the cheesecake bars on a decorative platter or dessert tray lined with parchment paper for easy cleanup and an attractive display.
- Accompany the bars with a scoop of vanilla ice cream or a dollop of whipped cream for an extra indulgent treat.
- Consider serving the bars alongside fresh berries or fruit compote to balance out the richness of the chocolate and peanut butter flavors.
Storage Tips:
- Store any leftover No-Bake Buckeye Cheesecake Bars in an airtight container in the refrigerator to maintain their freshness and prevent them from drying out.
- These cheesecake bars can be stored in the refrigerator for up to 3-4 days. Be sure to cover them tightly with plastic wrap or aluminum foil to prevent them from absorbing other odors.
- If you prefer a firmer texture, you can also store the bars in the freezer. Wrap them individually in plastic wrap and then aluminum foil before placing them in a freezer-safe container or resealable plastic bag.
- Frozen cheesecake bars can be stored in the freezer for up to 1-2 months. To thaw, transfer them to the refrigerator overnight and enjoy them chilled.
- For best results, consume the cheesecake bars within a few days of making them to ensure optimal taste and texture. Avoid refreezing thawed bars, as this can affect their quality.