
Introduction:
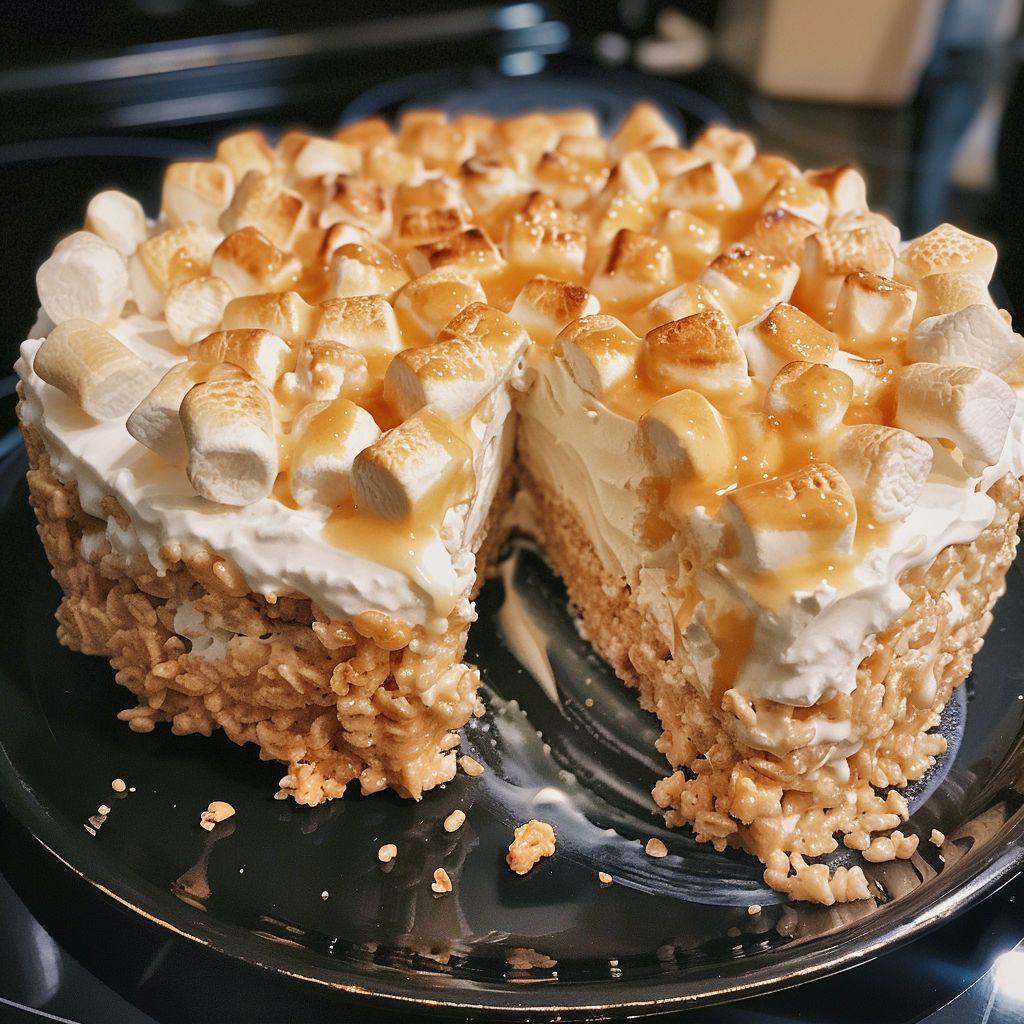
Indulge in the ultimate dessert experience with a No-Bake Rice Krispie Treat Cheesecake. This delightful creation combines the irresistible crunch of Rice Krispie treats with the creamy decadence of cheesecake, resulting in a dessert that’s sure to please every palate. In this article, we’ll explore the simple steps to make this mouthwatering treat at home, why it’s a beloved favorite among dessert enthusiasts, and how you can customize it to suit your taste preferences.
Ingredients:
- 2 cups Rice Krispies cereal
- 1 bag (10 oz) marshmallows
- 3 tablespoons butter
- 16 oz cream cheese, softened
- 1/2 cup granulated sugar
- 1 teaspoon vanilla extract
- 1 cup heavy cream
- 1/2 cup powdered sugar
Directions:

- Melt butter in a large pot over low heat. Add marshmallows and stir until completely melted. Remove from heat and stir in Rice Krispies until well coated.
- Press the mixture into the bottom of a greased 9-inch springform pan to form the crust. Set aside to cool.
- In a mixing bowl, beat cream cheese, granulated sugar, and vanilla extract until smooth and creamy.
- In a separate bowl, whip heavy cream and powdered sugar until stiff peaks form. Fold the whipped cream into the cream cheese mixture.
- Pour the cream cheese filling over the Rice Krispie crust and smooth the top with a spatula.
- Refrigerate for at least 4 hours, or until set.
- Prep Time: 20 minutes | Cooking Time: 0 minutes | Total Time: 4 hours 20 minutes | Kcal: 380 kcal per serving | Servings: 8 servings
Serving:
- Chill Before Serving: For the best texture and flavor, allow the cheesecake to chill in the refrigerator for at least 4 hours, or until firm, before serving. This ensures that the cheesecake sets properly and holds its shape when sliced.
- Slice Carefully: When ready to serve, carefully run a knife around the edge of the springform pan to loosen the cheesecake from the sides. Release the latch and remove the sides of the pan before slicing the cheesecake into portions. Use a sharp knife dipped in hot water and wiped clean between cuts for clean slices.
- Garnish Creatively: Enhance the presentation of the cheesecake by garnishing each slice with a dollop of whipped cream and a sprinkle of additional Rice Krispies cereal. This adds visual appeal and a delightful crunch to each serving.
- Serve Chilled: No-Bake Rice Krispie Treat Cheesecake is best served chilled. Enjoy it straight from the refrigerator for a refreshing and indulgent dessert experience.
Storage:
- Refrigeration: Store any leftover cheesecake in an airtight container or cover the springform pan with plastic wrap and refrigerate for up to 3-4 days. Ensure that the cheesecake is stored in the refrigerator to maintain its freshness and prevent spoilage.
- Avoid Freezing: Due to its creamy texture, No-Bake Rice Krispie Treat Cheesecake is not suitable for freezing. Freezing may cause the cheesecake to lose its creamy consistency and texture upon thawing, resulting in a less desirable eating experience.
- Individual Portions: If desired, you can portion the cheesecake into individual servings before refrigerating. Place each slice in a separate airtight container or wrap it tightly in plastic wrap to maintain freshness and ease of serving.
- Make Ahead: You can prepare the Rice Krispie crust and cheesecake filling ahead of time and assemble the cheesecake just before serving. This allows for convenient meal prep and ensures that the cheesecake is fresh when served.